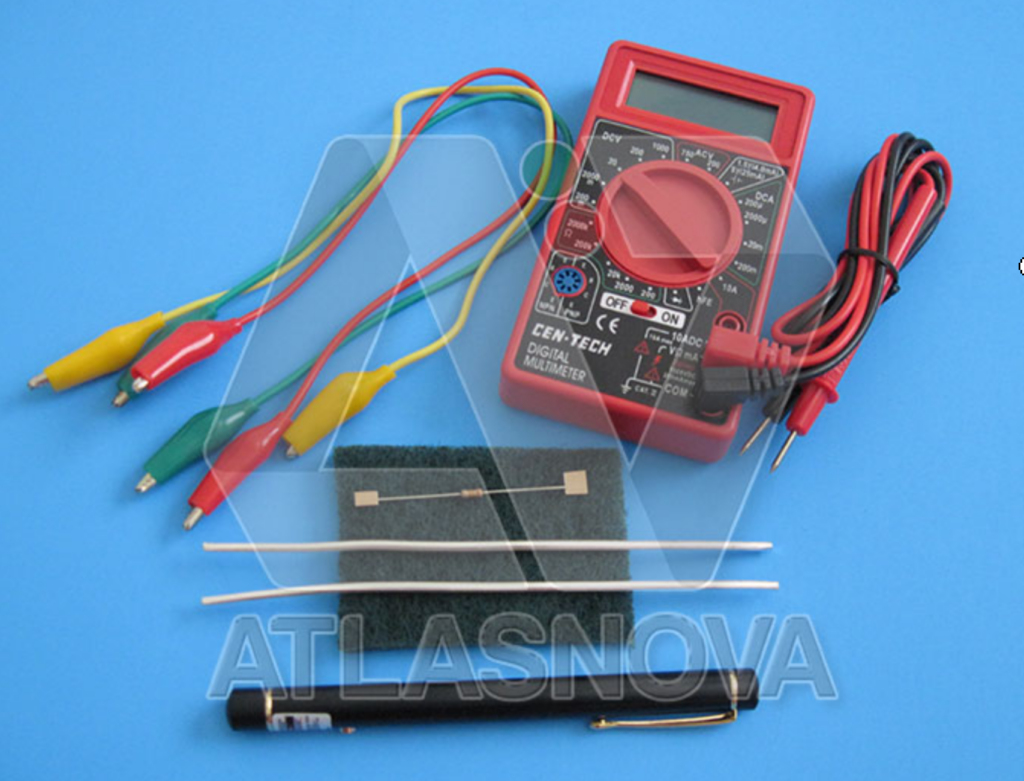
Atlasnova’s colloidal silver starter kit was my first effort to put something together to help people make their colloidal silver. We had been only selling the 9999 silver wire up to that point. Many customers for the silver wire would ask our advice on making colloidal silver. That was almost 20 years ago, and the widely accepted method was adding salt and letting the current run wild, just letting things go until it turned yellow with a lot of gunk. Using a resistor to limit the current solves that problem. The laser determines when to stop the process. The batteries, the resistor, and the two electrodes separated in the water are connected in series.
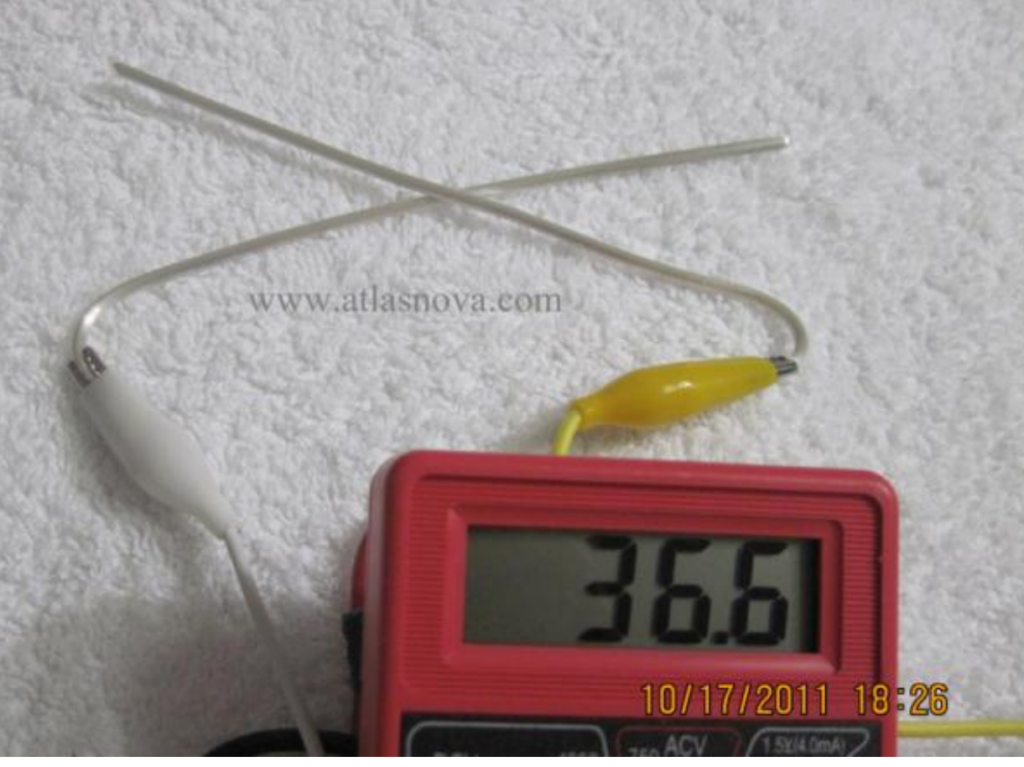
When the multimeter probes are placed across the series resistor, they read the voltage dropped by the resistor. That represents the four 9V batteries (36 V) minus the voltage of the two silver wire electrodes. If the distilled water is of high quality, the voltage across the resistor will be relatively low as the current will be minimal. As more and more silver ions enter the distilled water, the water will become more conductive. That increases the current in the circuit, causing the voltage across the resistor to increase gradually. The voltage increase across the resistor will slow at a certain time, indicating that the ion production slows and larger particles form. The laser pointer’s beam’s visibility allows the user to stop the process before the solution becomes yellow. The multimeter will not measure the PPM of your resulting colloidal silver. You will need to purchase a TDS or EC meter to indicate this. They are available on eBay for under $20.
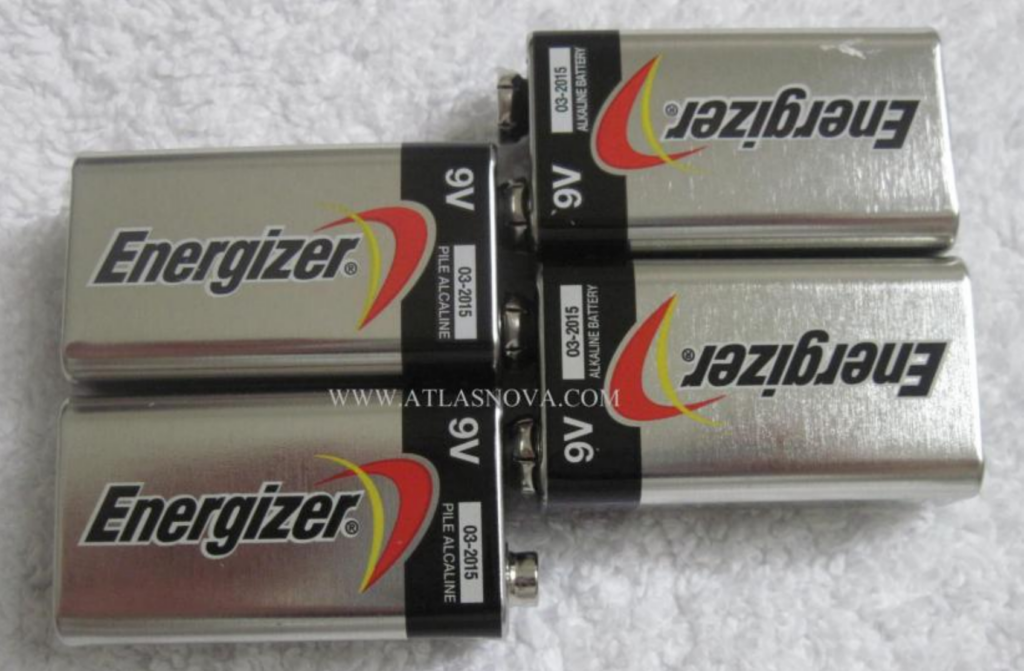
Here’s a picture showing how the 9V batteries are connected in series.
Next, find the resistor and form a loop to be able to insert it into the probes from the multimeter. Then, attach an alligator clip to each jumper cable to one of the tests lead tip points.
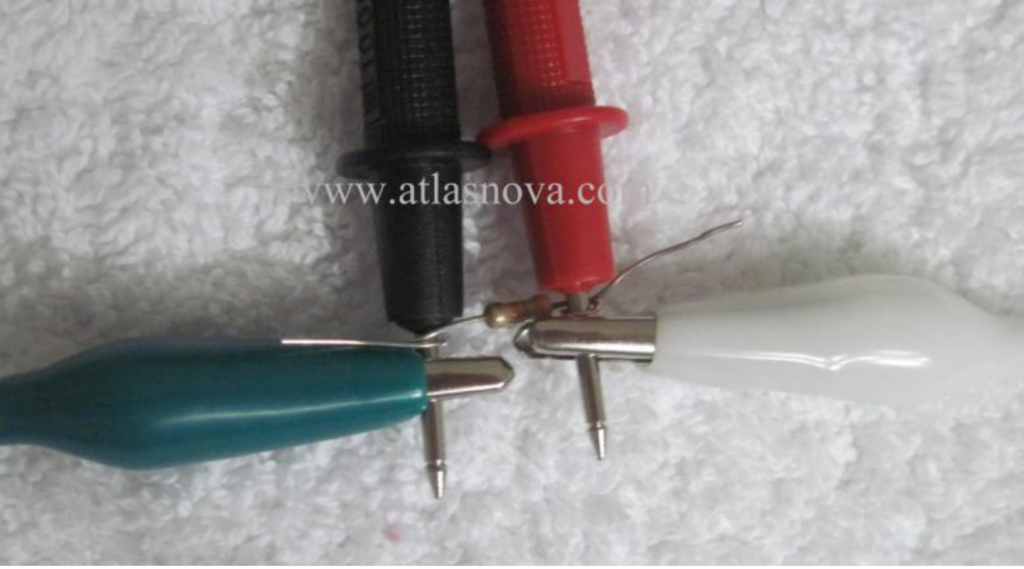
Next, find the resistor and form a loop to be able to insert it into the probes from the multimeter. Then, attach an alligator clip to each jumper cable to one of the tests lead tip points.
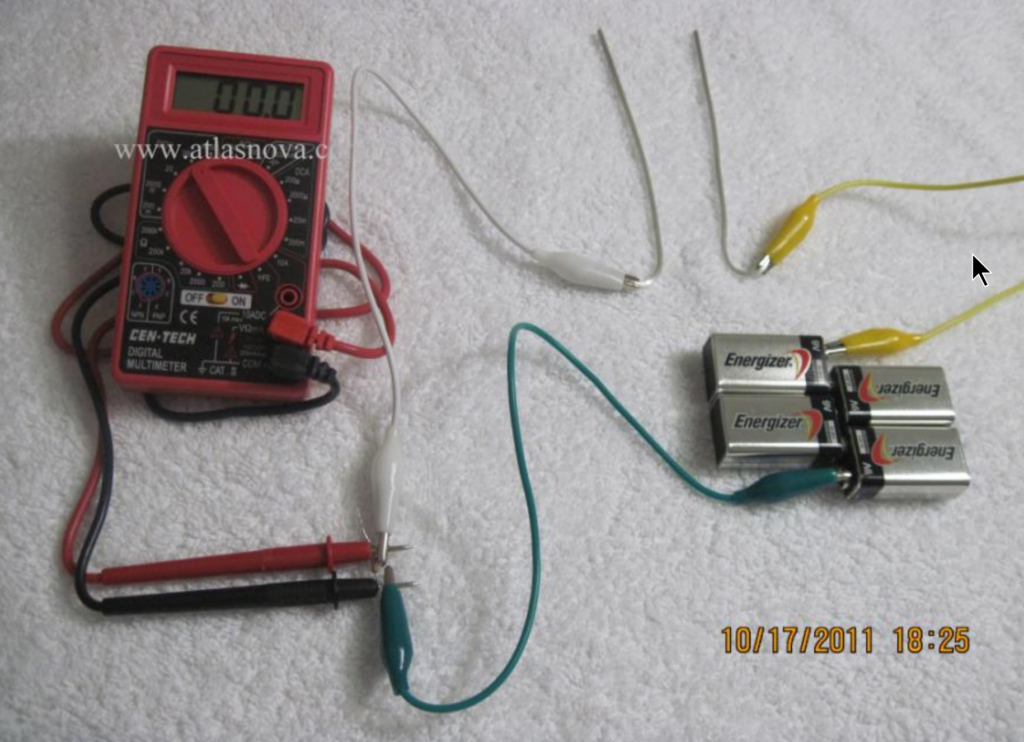
Attach an alligator clip from the unused jumper cable to one of the battery terminals that are still exposed, and the other end of this cable clip onto the end of one of the lengths of silver wire. Remember the two jumper cables attached to the resistor and test probes? Choose one of these and attach the free end to the remaining battery terminal that is still exposed. Attach the free end of the remaining cable to the other piece of silver wire as shown. Turn the control on the multimeter to two hundred volts DC, as shown in the picture. When the two silver wires are separated, it should read zero volts.
When you put the two silver wires together, this causes the total voltage to flow through the resistor, and the meter will read approximately thirty-six volts, which happens to be four times nine. That is an excellent time to remember to turn the multi meter off when you are not using it. It does not automatically turn itself off like the more expensive models. If you leave it on for a few days, you will have to buy yet another nine-volt battery for it.
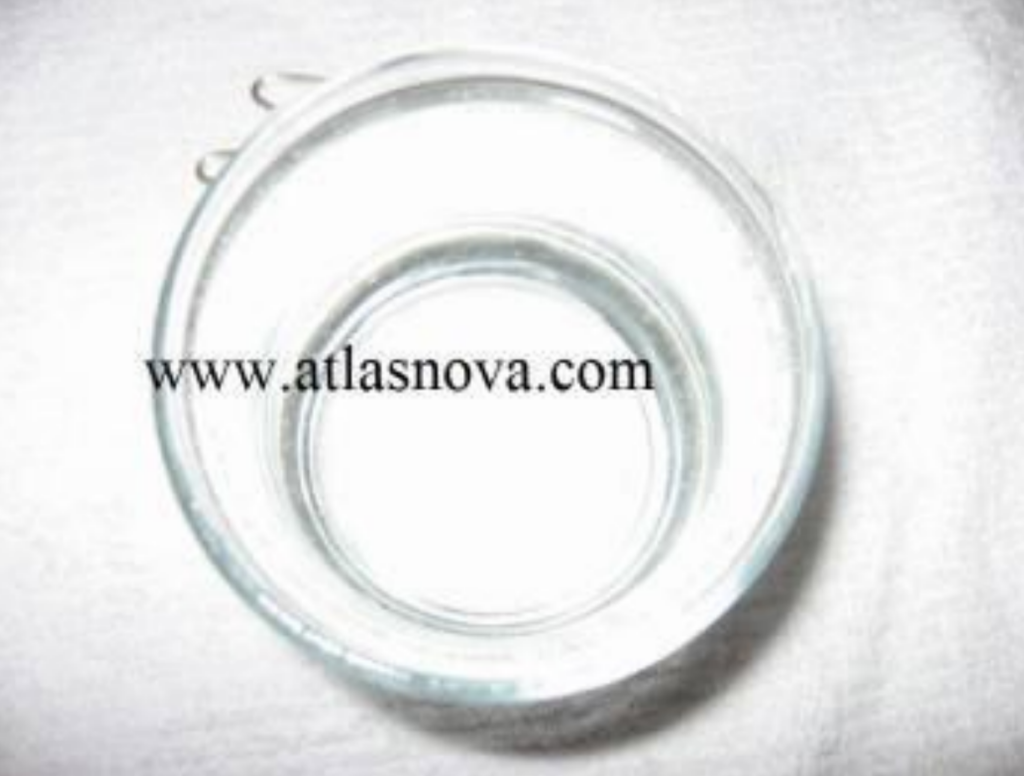
Now, you need spotless, clear glass. You need to rinse it many times with tap water and then rinse it with some of the distilled water (we buy ours from Wal-Mart) that you will be using to make your colloidal silver. You will then fill the glass almost to the top with your distilled water.
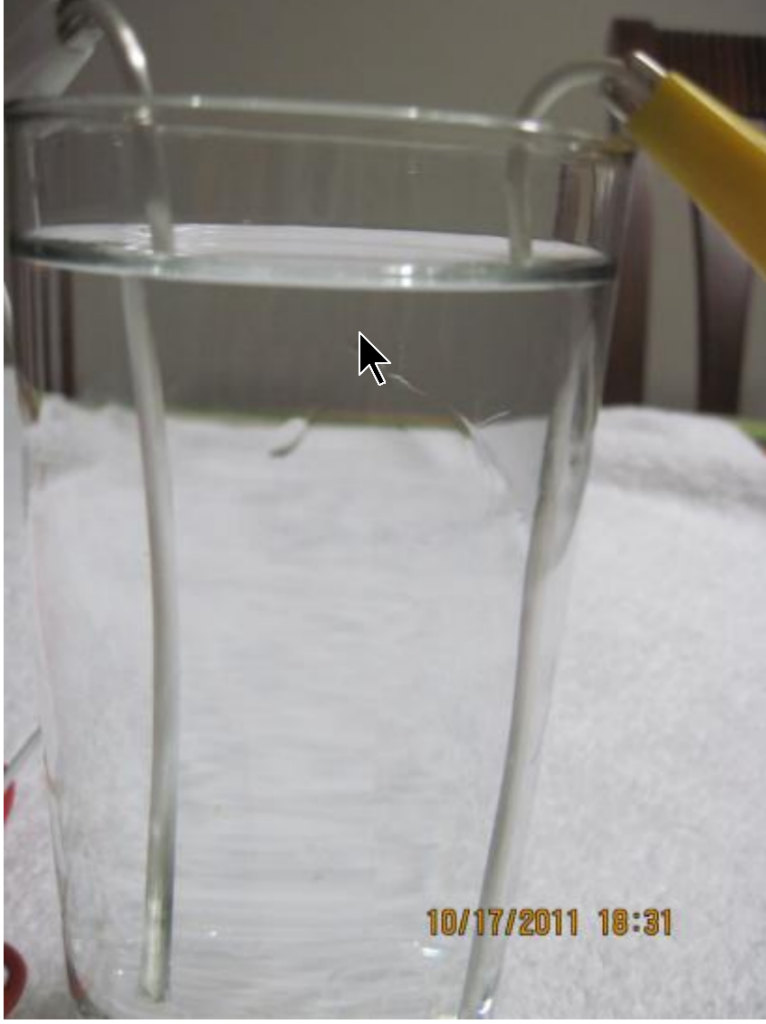
Place the silver wires at opposite ends of the glass containing the distilled water as shown. Make sure that the silver wires are not touching each another. We also do not want any silver wire immersed in the distilled water to touch the glass.
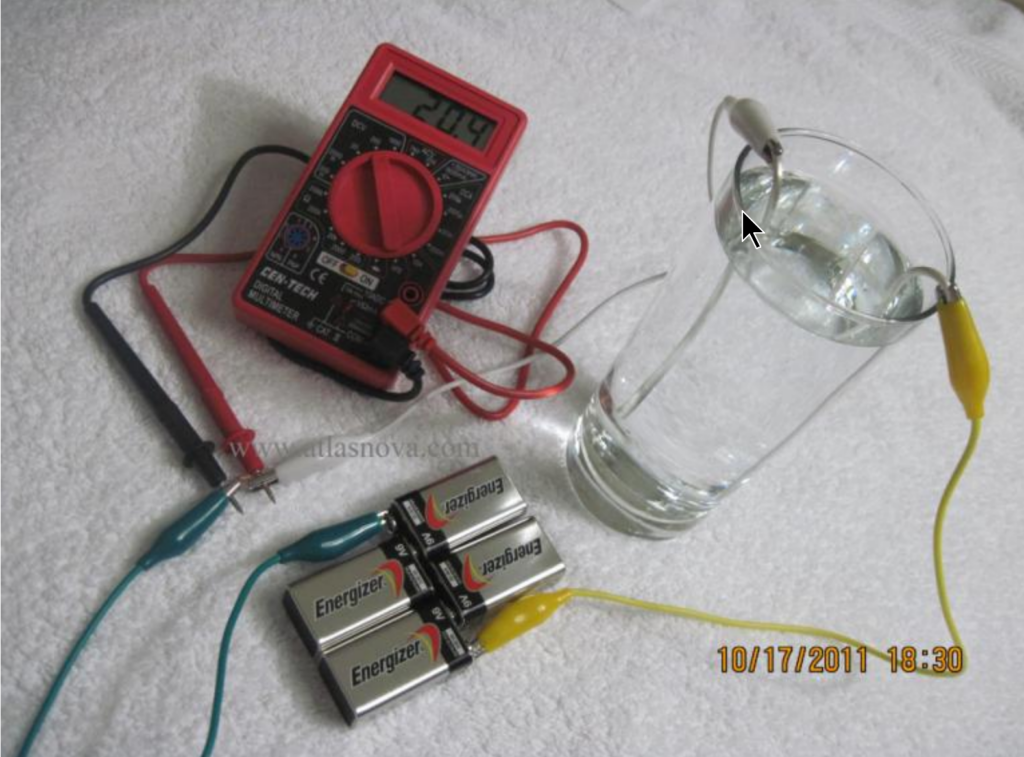
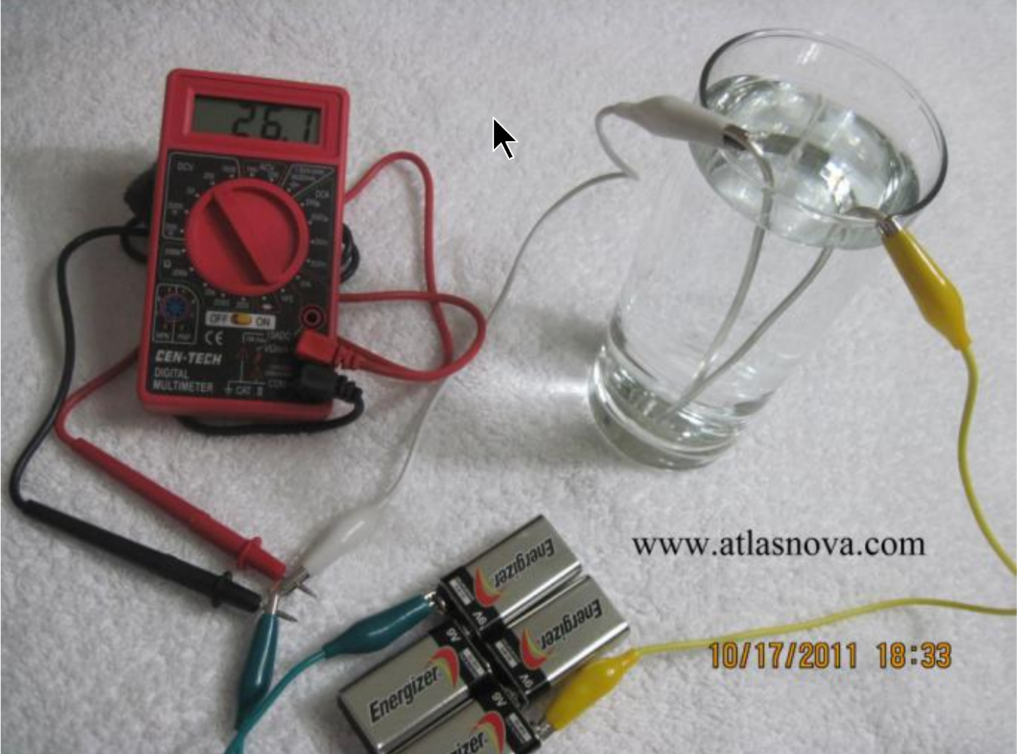
As you can see, the voltage dropped across the resistor is 20.4 volts. The reading of 20.4 volts indicates that the distilled water, in this case, is not of the same quality as used in the picture below. If this is as good water as you can get, it is still okay to use for making colloidal silver. Keep in mind that the ultimate quality of the colloidal silver that you make depends greatly on the purity of the water used at the start.
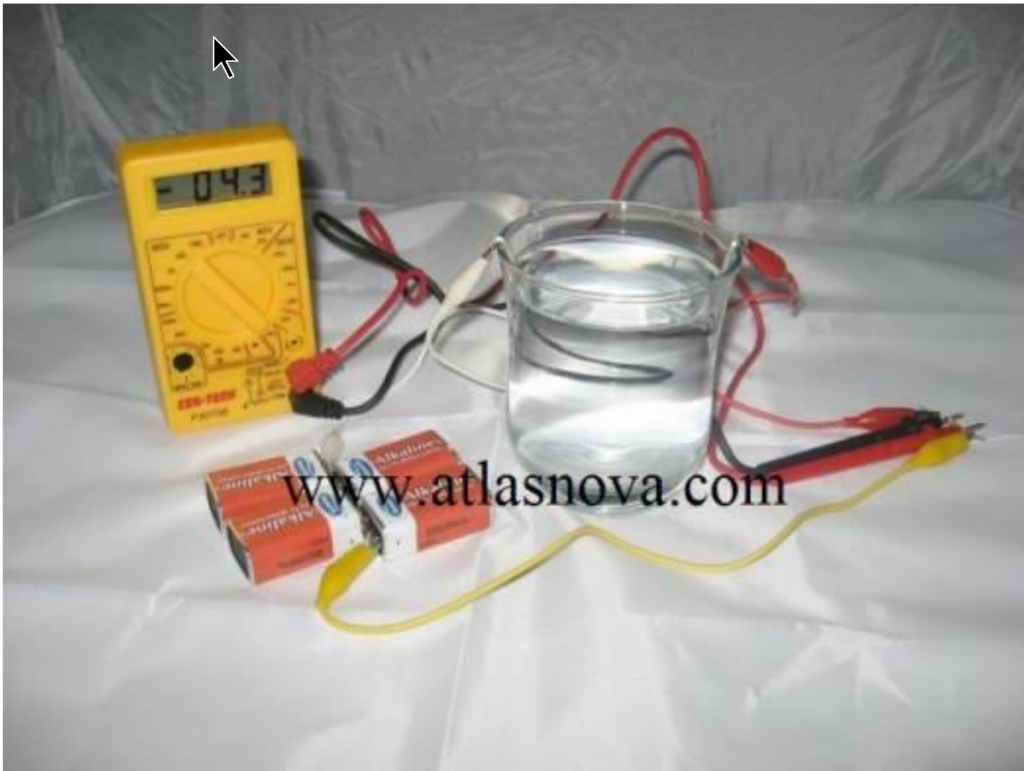
Here is the same configuration using a different brand of distilled water. The voltage reading of 4.3 volts across the resistor indicates a current of less than 0.1 milliamps. That is the maximum amount that is allowable in terms of how good your distilled water is. If it reads much more than that, you need to find a better source of distilled water.
To speed up the process, you can move the silver wires closer together so that you may generate ions more quickly. The more ions in the water, the higher the water’s conductivity, which allows more current to flow. You will now allow the process to continue.
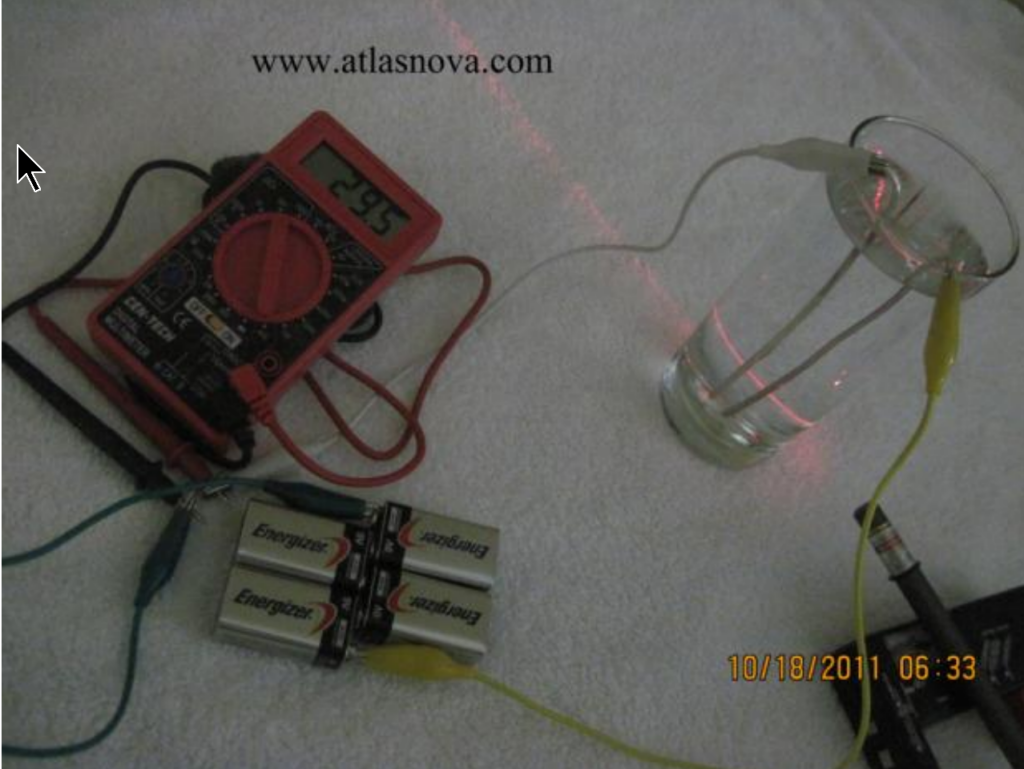
It is at this point that the red laser pointer comes into play. Actual particles will start to form now as the ions will cluster together and no longer exist as ions but clumps of silver atoms forming colloidal silver. If these clumps of atoms exceed a diameter of forty nanometers, our water will begin to take on a yellow tinge. Long before this, our laser light will detect the colloidal particles, as even microscopic particles can scatter laser light as it travels through a medium, in this case water. The less ambient light that is present, the easier it will be to see the presence of the particles. The whole purpose is to achieve the maximum amount of ionic silver while limiting the particle size. Start using your laser pointer once the voltmeter approaches thirty volts, preferably in the dark.
The beam will still be visible even in normal room light as the process continues. You will be done, and you will have made a solution of colloidal silver as good as or better than anything you can buy at any price.
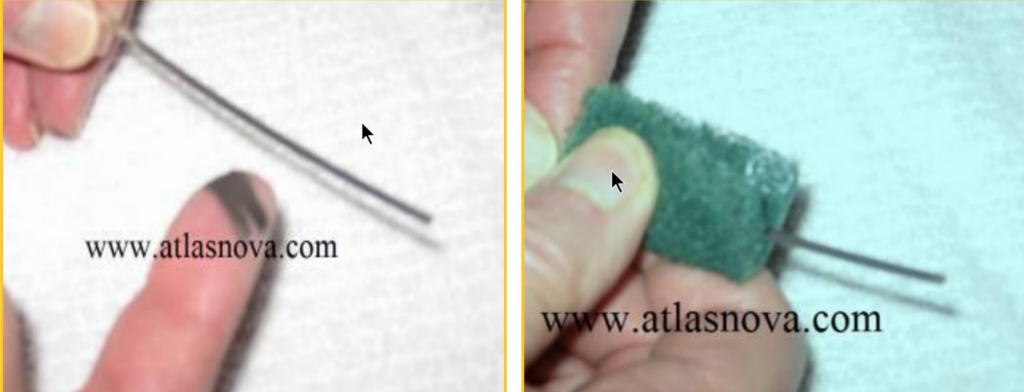
You can probably see quite a significant build-up on both of your silver wires (electrodes). They will require a good scrubbing before using them again. Use the green scrubbing pads that are included in the starter kit for this.