Hunts1980 Aug 10, 2015#79
Most agree that 3x 9v batts is best, 27v near perfect for creating the smallest nano particles of silver.
There is no such thing as the “perfect voltage” for making colloidal silver. What we have here is a system consisting of a battery or a wall wart AC adapter (voltage) distilled water between the silver electrodes (resistance) and the resulting current (milliamps). It is important to understand that the voltage and resistance factors determine the amount of current in this system. It is the current in any electrical system that does the actual work. In Michael Faraday’s theory of electrolysis, voltage, and resistance are not mentioned. The number of ions created is a function only of the current.
The 27 volts issue is dealt with in the very first post of this thread. I would suggest a careful reading of the thread from the start.
It has been some 30 years since I began suggesting the use of current limiting and a laser pointer in making colloidal silver. Before that time, the accepted method was using two silver coins, three nine-volt batteries, and a dash of salt. A watchful eye to stop the process when it had a yellow tint was essential. The trick was to stop the process before the water turned into black gunk. At this time, a man who claimed he was a retired oncologist selling vitamin supplements introduced the use of a fish tank bubbler. That worked to the extent that it prevented the runaway condition that caused the three nine volts’ problems. Electricity cannot flow through an air bubble, so the current path was repeatedly interrupted by the flow of bubbles between the electrodes. This guy became very popular and sold many people a kind of subscription for vitamins and made some money. I understand that he was later arrested and jailed for mail fraud. This method is still prevalent as it does work, at least to the extent of preventing the rapid formation of black sludge. To give him credit, I think he also told people not to use salt. This method was not as quick as the three nine volts, which meant that it took more time, but people didn’t mind so much because they could always watch the bubbles.
There is a problem with this. As there is no current limiting device, i.e., “resistor” in the circuit, the current between bubbles will not be limited. The particles leaving the silver anode will be in relatively large chunks. The scattering effect of coherent light causes the laser line formed in the solution. The amount of light reflected is not directly proportional to the size of the particle. For instance, a particle 10 nm in size will only reflect 1/1000 the amount of light as a particle 100 nm in size. Therefore, using this method to determine when to stop the process will cause the process to end when a relatively small number of relatively large particles are in solution, which is just the opposite of what we want.
I hope everyone keeps experimenting and keeps an open mind on improving the process. Those of you who are using bubblers and have a TDS meter would do well to check whether or not the bubblers are adding oxygen to your water, yielding you a false indication of silver PPM. To do this, run your bubbler for the same length of time without silver. Take a reading of ppm. It is from carbon dioxide and oxygen.
Electrical or Chemical?
This thread now has over 880 replies and 69,000 views. I hope that it has served to help clean up the abysmal swamp of conflicting methods of generating and evaluating the substance we call “colloidal silver.” We have learned to differentiate between “ionic” (meaning single silver ions, positively charged) and “particulate” (involving silver molecules, uncharged, kept in suspension in water).
If you have had the energy and patience to read the posts in this thread, you now know how to make colloidal silver from scratch. You will not need to buy any particular thing from any specific person, whomsoever, including me. You need some pure distilled water. Buy yourself a water tester, TDS or EC, and measure the conductivity to be sure it is pure. Buy the most refined silver. Trust no one. Demand a detailed certificate of analysis from a recognized testing authority, detailed in parts per billion, nothing less. Don’t be in a hurry. Time is on your side in the case of making quality colloidal silver. Don’t think that you have to stand there and watch it. If you keep the current low enough, it will take a long time before your water will get a yellow tinge. A good 650 nm laser pointer shown through the solution will give you a good idea of the number of particles and their size. That will help you decide when to stop the process, long before the particles are large enough to give the solution color. That and an EC meter is all you need. With practice, you will find that you will be able to generate colloidal silver of up to 20 ppm reliably. That is better than anything commonly available.
The preceding represented the state of the art of making colloidal silver when I started this thread. Some of the questions asked by readers of the thread started me wondering about the 20 to 25 PPM limit that we had reached using the manual method. None of the automatic units claimed anything better, and most declared far less. In truth, the only automatic thing that these “automatic” units did was to shut off after a given amount of time or a given amount of conductivity of the water. In terms of ionic value, the product they produced was never the same twice, as they readily admitted.
I imagined that I was operating my left that that that that that that that that that that that that that 1/2 gallon per day Atlasnova generator but somehow, could measure the voltage across the electrodes every one-millionth of a second. At one-microsecond intervals, I also could vary the resistance and operate the toggle switch, opening the circuit, or reversing the polarity.
I designed and built a circuit using a microprocessor that enabled me to do this. I found that I could break the 25 PPM barrier that had long been established and accepted by the chemical fraternity worldwide for the solubility limit of silver. In April 2016, I announced this fact in post number 138. Having done this, I decided it was worthwhile to go ahead and turn this into a product that people can use to make genuinely advanced colloidal silver. It took a year to turn the prototype into a product that would reliably produce 50 ppm ionic colloidal silver. I want to thank the forum members for inspiring me to do this. And special thanks to the brave souls who have bought the first of the CSG ultra’s and contributed very constructive criticisms.
See how the 1 gallon per day colloidal silver generator from Atlasnova works. That is a good way to examine the process. Let’s make a batch of 16 ppm ionic, crystal-clear colloidal silver.
The one gallon colloidal silver generator (CSG-1G) will enable you to make a gallon of high quality colloidal silver in 24 hours (more or less), depending on the quality of your distilled water. Powered by a universal power supply. Designed, manufactured, and assembled in the USA.SKU: CSG-1G
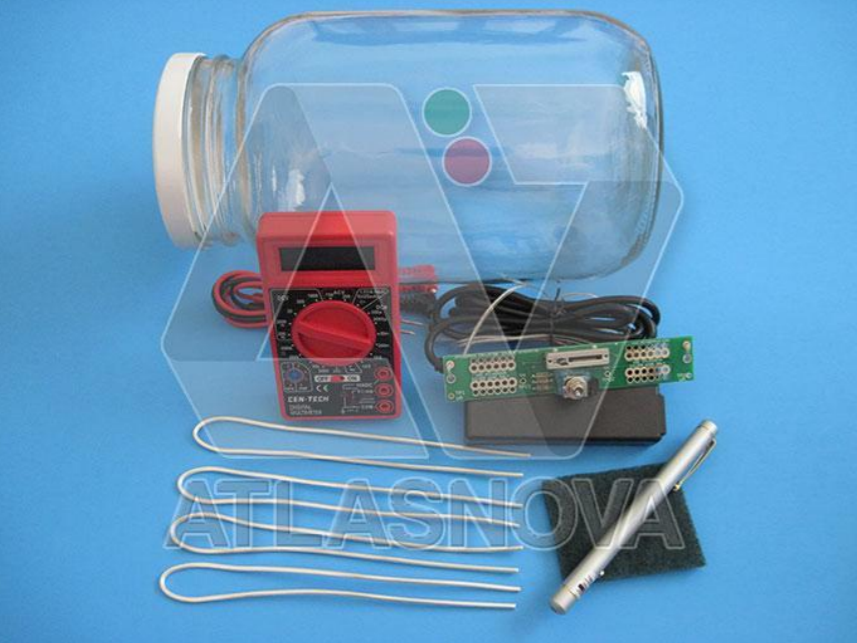
The One-Gallon Colloidal Silver Generator (CSG-1G) includes:
- 4 pieces of 15-inch 10 gauge pure 9999 silver wire
- 1 gallon mason jar
- 1 digital meter
- 1 piece of scrubbing pad (to clean the silver wires)
- 1 piece of Atlasnova red laser pointer (no batteries)
- Instructions for making one gallon of colloidal silver using our CSG-1G
Please note that the color of the body of the red laser pointer will vary depending on what’s available in our stock.
To complete the parts and equipment in making a gallon of colloidal silver using our CSG-1G, you need to purchase the following:
- Distilled water
- 2 pieces of AAA batteries for the red laser pointer
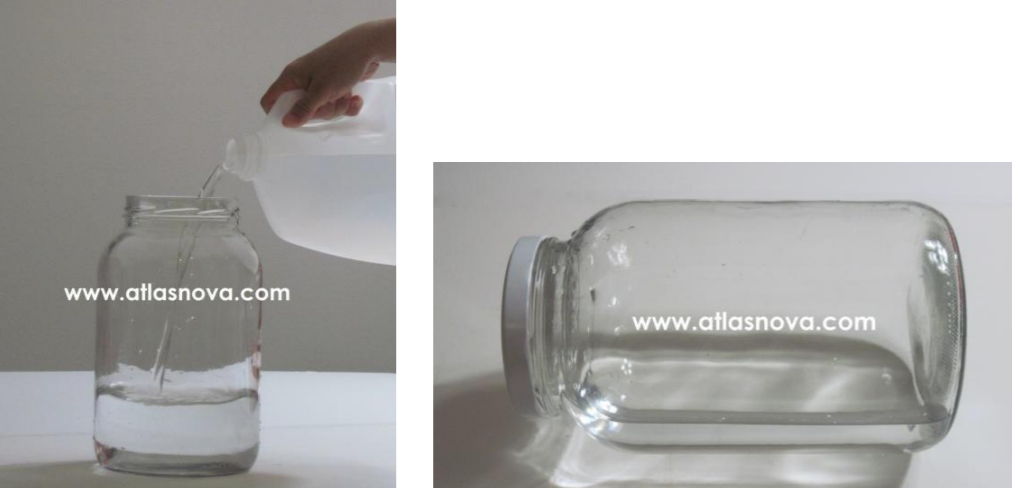
The one-gallon jar that is supplied will be clean when you receive it. However, a good idea would be to fill it half full of distilled water. Replace the cap tightly and give it a good deal of motion so that any dust particles that may have entered will now be in the water.

Then dispose off the water. Pour distilled water into the jar. Do not fill the jar beyond 1 inch below the top of the jar.
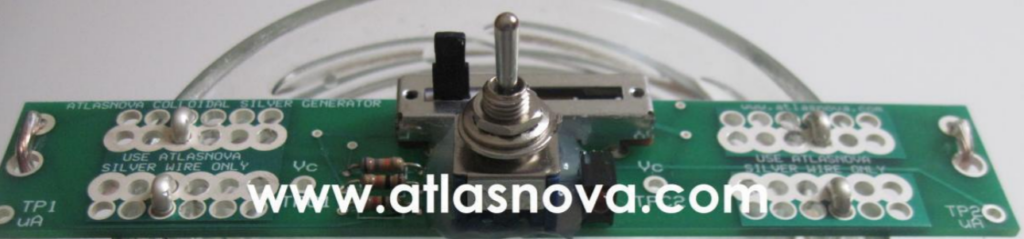
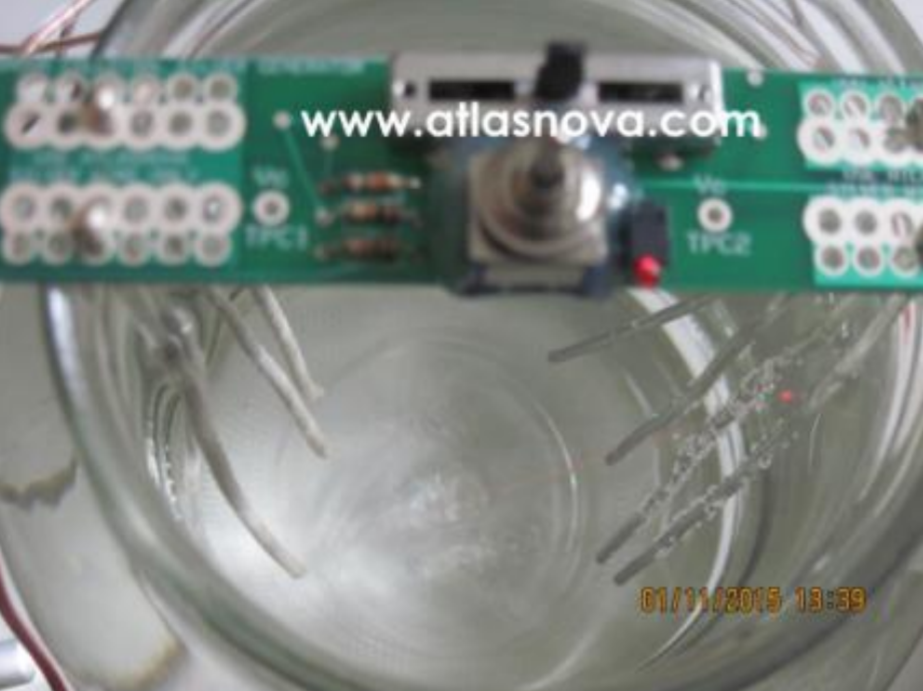
Make sure that the toggle switch on the printed circuit board (generator) is in the fully upright position. The sliding potentiometer should be positioned all the way to the left. Insert the silver wires into the holes as shown.
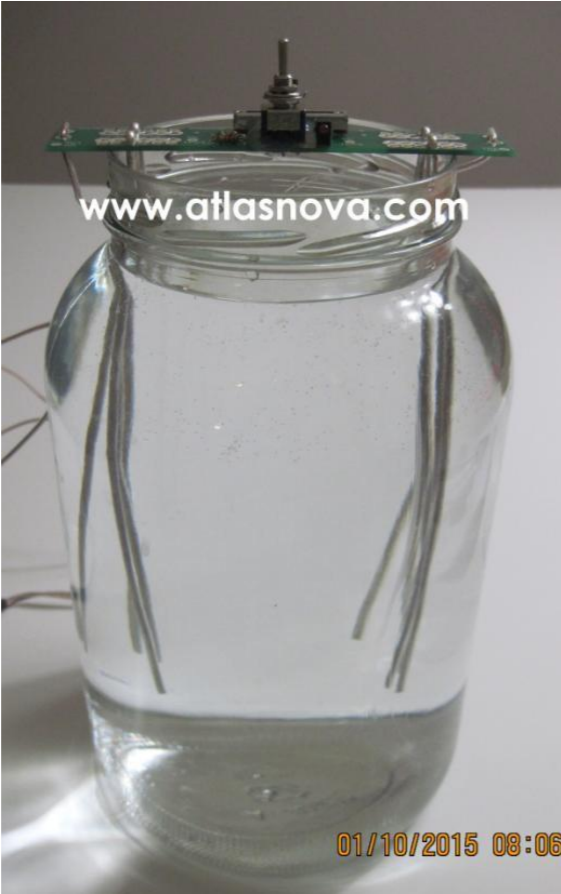
Place the printed circuit board (generator) with the silver wires on to the jar. Make sure that none of the silver wires are touching any part of the jar where the water is present. The silver wires should be as far apart as possible.
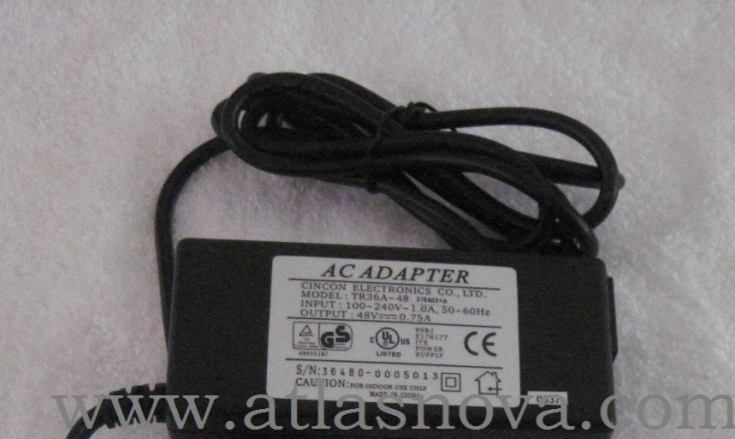
Plug the Universal Power Supply into a standard AC outlet.
Once the power supply is plugged in, you will see the red LED lit to confirm that your generator is ON.

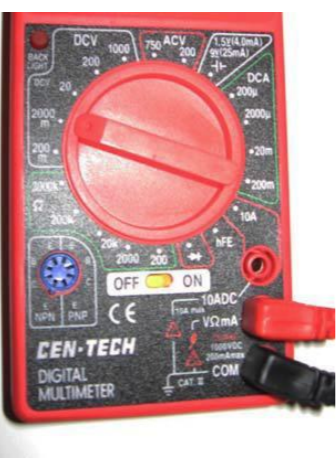
Plug the test leads into the Multimeter at the two lower sockets on the meter. The top socket is not used. It is only there for measuring very high amperage.
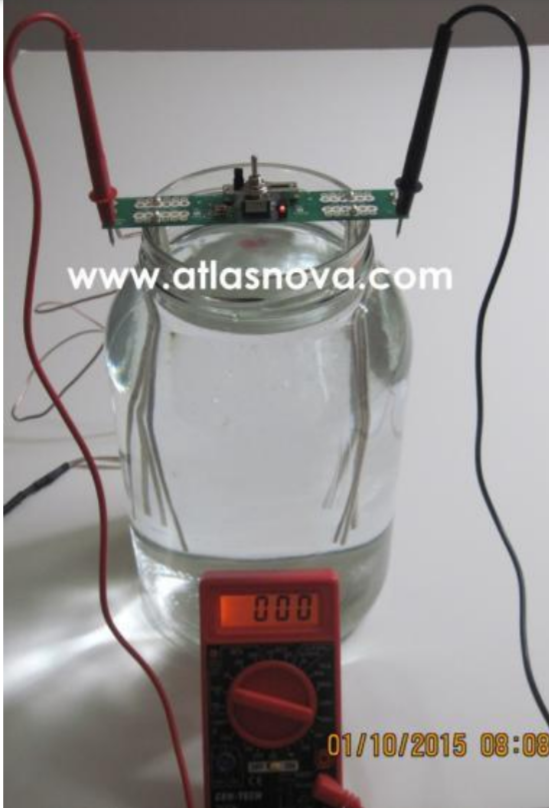
Put the two test leads into the two outer test points on the generator as shown. The meter should read zero volts.
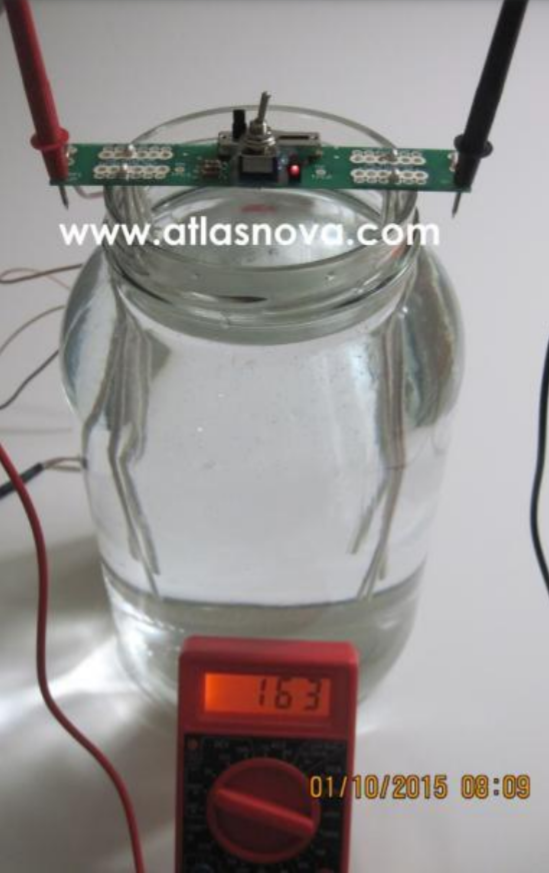
Position the sliding potentiometer all the way to the left. This will give you the lowest current. As shown in the picture, our digital meter reads 163 microamps. Please note that the reading will vary depending on the quality of your distilled water. Positioning the sliding potentiometer all the way to the left will take longer to make colloidal silver but will give a much better result. This reading will increase slightly as time goes by. It will just take longer to get a good red laser beam but you will end up with a higher PPM and more stable colloidal silver.
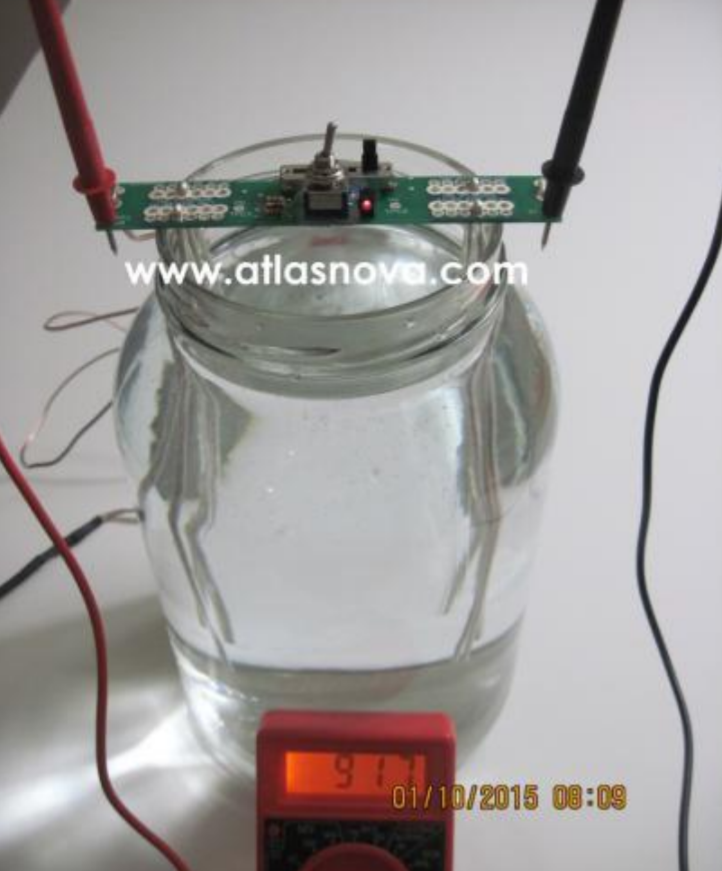
Positioning the sliding potentiometer all the way to the right will give you the highest current. As you can see in the picture, our digital meter reads 917 microamps. Please note that the reading will vary depending on the quality of your distilled water.
The position of the toggle switch points to the set of wires that will be the anode. By moving the toggle switch all the way to the left, the silver wires that were the anode will now serve as the cathode. You can set up your current the way you want. For these instructions, we will set our sliding potentiometer to the middle, keep the toggle switch all the way to the right, and set our current to 263 microamps. And we will continue the process.

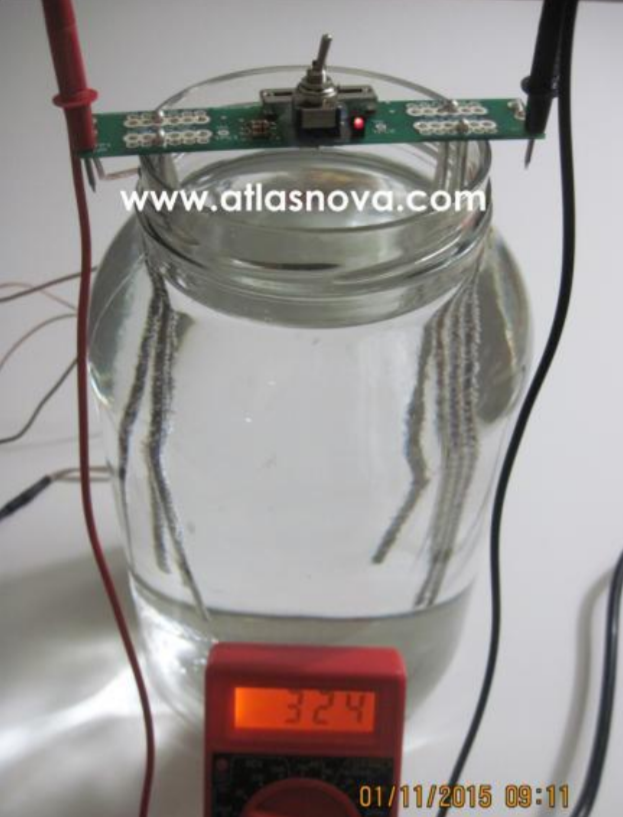
It is now the next morning and you can see that the current has increased overnight to where it now reads 324 microamps.
We now use our red laser pointer supplied with the kit and check to see that we have made a sufficient quantity of actual silver particles by seeing the red beam across the jar n dim room light. The first picture was taken in a bright room and the second picture was taken in a dark room.
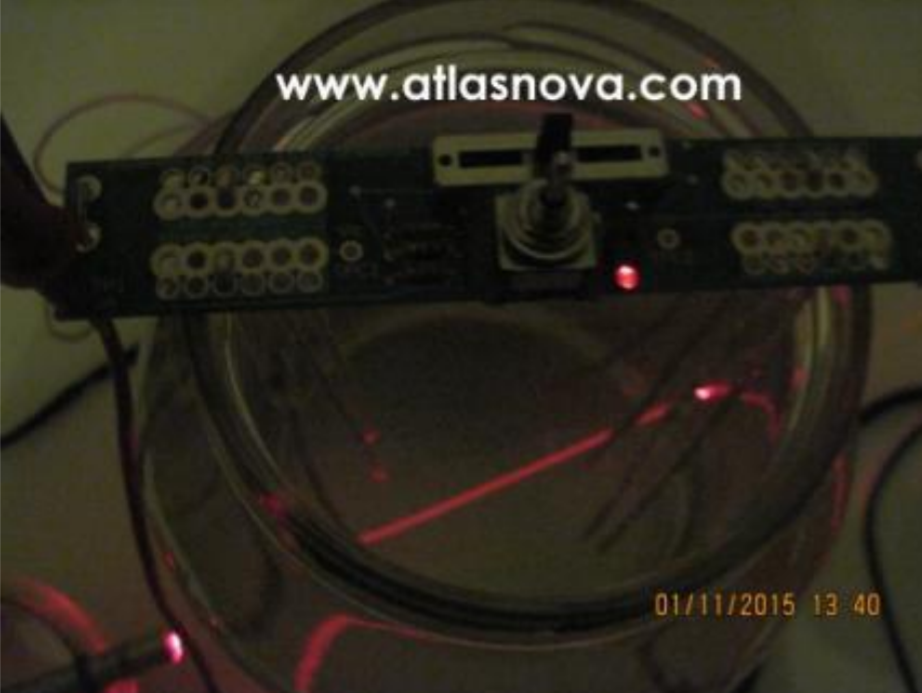
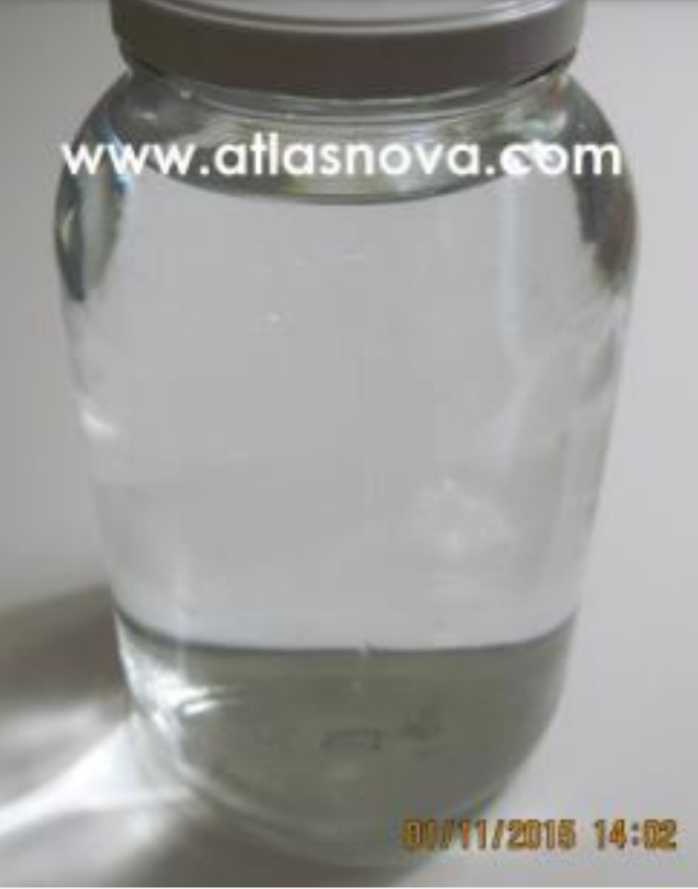
The red laser beam indicates that we have made particulate silver as well as ionic. As you can see by this picture, we have a nice strong red beam even in normal indoor room light. The water itself is still crystal clear. This means that we have avoided making overly large particles.
In the days before good laser pointers were available; the only way we had to ensure that we had made larger particles was for the water to turn yellow. You will find many people who, because of this, still believe that Colloidal Silver should be yellow in color. The fact is that a yellow color Colloidal Silver indicates particles in excess of 40 nanometers in size. Clear color, like water, means smaller particles. Small particles are better. Some people refer to silver particles this small as nano silver.
Please note that if you have any kind of equipment to check your PPM, make sure that the toggle switch is in the fully UPRIGHT position before doing so.

In this picture we have submerged the probe of our Amber Electronic Conductivity Meter to measure the value of conductivity in Microsiemens. (Please note that our toggle switch is in UPRIGHT position). This is the same value for the PPM (parts per million) of the ionic part of our colloidal silver. As you can see in our picture, our PPM reads 16.2.
We are now finished with the process of making our one-gallon of colloidal silver. Unplug the universal power supply, remove the generator from the jar and clean the silver wires with the supplied scrubbing pad. Two or three swipes should suffice.

We now have one-gallon of better colloidal silver than can be purchased at a store. We can do this hundreds of times before we have to buy more silver wire. You can just put the lid back on the jar to cover your One Gallon Colloidal Silver until you’re ready to use it.